Jacen's Blog
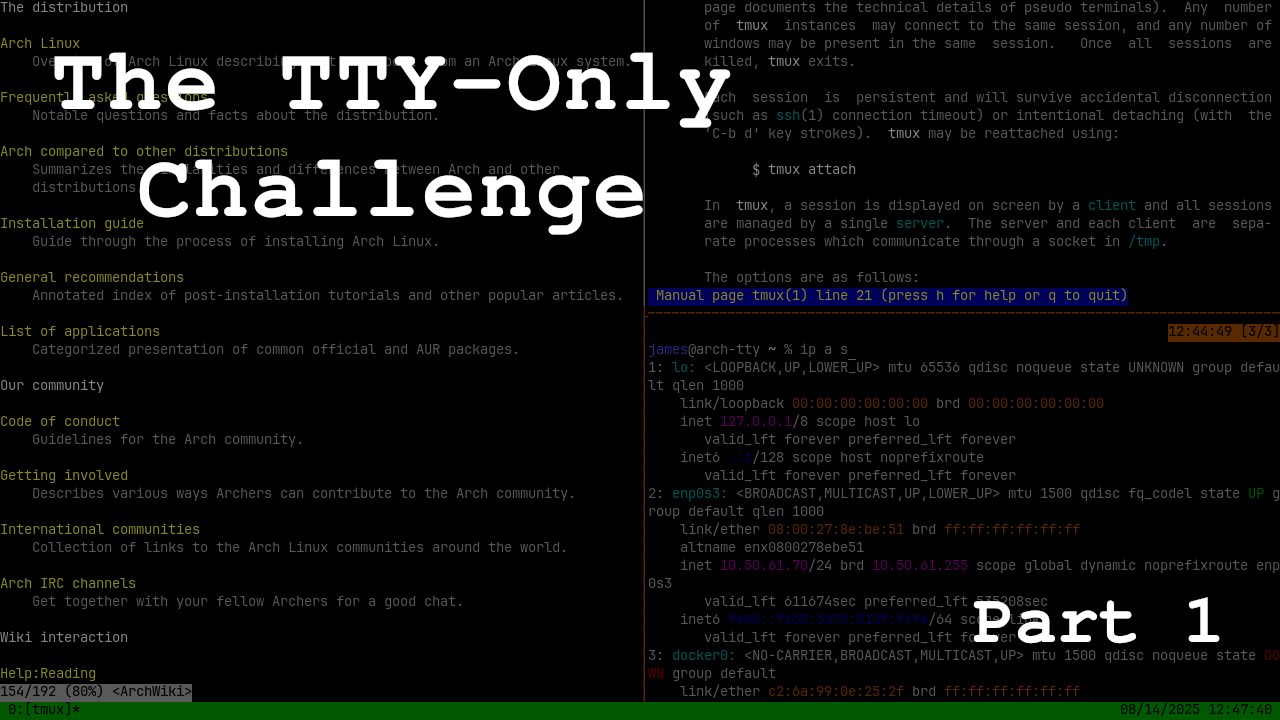
Can You Use Linux Without Leaving The Command Line? - The TTY-Only Challenge
August 2, 2025
One of the most parroted advantages of Linux is its customizability. With plenty of distributions, desktop environments, window managers, and many combinations thereof, there are so many ways to tune your graphical environment exactly the way you want it.
So, what if we take all of that away and strip Linux down to its core? Can we use Linux from just the command line the way people did back in the early days of computing? There's only one way to find out, and that's to try it for ourselves.
I Use Arch, BTW
The first step is picking the distro we want to use for this challenge. I've gone with Arch, mostly because it's relatively easy to set up a minimalist environment, but also because the elitist community that it tends to attract seems to fit the vibe of this challenge. It does, however, mean that we have a lot more configuration we'll need to do ourselves compared to more friendly distros like Debian or Ubuntu.
As for the device we'll be installing it on, I'll be using an old Dell Latitude 3500. It's reasonably well-supported by Arch (not that we'll really need that much hardware support for what we're doing), and its size and layout shouldn't be too much of a learning curve compared to my daily driver, the Framework 16.
A terminal multiplexer of some kind will be a must. This allows us to have multiple terminal panes open at once, which is critical for multitasking or even just referencing information in one document while working on another. I've gotten familiar with tmux, so that will be my choice. It's reasonably customizable with its keyboard shortcuts, and it has a nice status bar to keep us up-to-date with critical information about our system. It also gives us a clipboard as a nice bonus.
While I'm traditionally more of a bash guy, I'll be using zsh as the shell for this challenge. Some of its autocomplete features are an upgrade compared to bash, which will be especially critical when we can only interact with the computer through the TTY.
With our basic plan in place, it's time to start implementing it to see what other issues we still need to iron out.
The Setup
There are plenty of resources explaining how to install Arch, including the Arch wiki itself, so I'll consider that outside the scope of this post. With that said, my setup doesn't deviate much from the setup that you would end up with if you followed the wiki, with an ext4 filesystem and GRUB for the bootloader. Remember that sudo and dhcpcd are must-install packages unless you want to have a really bad time when you boot into your OS for the first time. If you're using a laptop like me, you'll probably also want iwd to be able to connect to WiFi.
Beyond those and your bootloader (if in doubt, GRUB is always a safe choice), everything else is more or less optional, and anything you might have missed can be pretty easily installed after you're done. Obviously, I needed tmux and zsh. I also added the grml-zsh-config because I like the theme as well as some of the customizations it adds. I grabbed alsa-utils for audio setup, nano because I'm not hardcore enough to try vim, pkgfile for a feature we'll set up shortly, and man-db and man-pages for documentation that I'll probably never read.
With all that set up, I could now create a non-root user account for myself and set it up with sudo privileges, set zsh as my default shell, and reboot into my shiny new OS.
Config Files
First things first, we'll want to customize tmux to put some useful information in the status bar and customize a few keyboard shortcuts.
# Register screen lock
set -g lock-command vlock
set -g lock-after-time 0
bind L lock-session

# Register config reload hotkey
bind r source-file ~/.tmux.conf

# Better split shortcuts
bind-key H split-window -v
bind-key V split-window -h

# Set status bar
set -g status-left " "
set -g status-right "#(cat /sys/class/power_supply/BAT0/capacity)% (#(cat /sys/class/power_supply/BAT0/status)) %m/%d/%Y %H:%M:%S "
set -g status-right-length 40
set -g status-interval 1
You might note that the horizontal and vertical split shortcuts seem to be reversed. This is intentional because the way I have it set up is more intuitive to me. Your mileage may vary.
Next is our zsh config, located in the .zshrc.local file in our home directory. I'd like tmux to launch automatically on login, so we'll set that up. Next is setting up command-not-found via pkgfile, letting me quickly find any packages that I may have forgotten to install. I want to update my path to let me easily add custom scripts that I might decide to write, as well as switch my default editor to nano. Finally, I set up an alias to let me easily rerun a command if I forget to sudo it.
if [ -z "$TMUX" ]; then
  tmux attach -t default || tmux new -s default
  exit
fi

source /usr/share/doc/pkgfile/command-not-found.zsh

export PATH="$PATH:/home/james/.local/bin"
export VISUAL=/usr/bin/nano
export EDITOR=/usr/bin/nano

alias pls='sudo $(fc -ln -1)'
Finally, I want to make some customizations to nano to make it easier for me to use. That includes syntax highlighting, setting tab/indentation settings, and enabling line numbers.
include "/usr/share/nano/*.nanorc"

set autoindent
set tabstospaces
set tabsize 2
set linenumbers
That should put us in a state where we're ready to really dive into the challenge.
Yay For AUR Helpers
If you've skimmed through the Arch wiki, you should be vaguely familiar with pacman, the Arch package manager. This is great for installing packages from the Arch official repository, but the official repository doesn't always have every package you might be looking for.
You might have also noticed that the Arch wiki sometimes has the mark "AUR" at the end of certain package names. This is to indicate that the package is part of the Arch User Repository. As the name implies, these packages are created and maintained by the community, so reliability and security are not guaranteed.
Installing AUR packages is deceptively easy, but what if it could be easier? That's where yay comes into play. It's a package manager for the AUR, making installation just as easy as installing official packages. It handles all the prerequisites and configuration, so all you have to do is run a single command.
Installation and usage instructions are available on GitHub. You'll need git to clone the AUR repository and the base-devel metapackage containing the build tools we'll need, so we'll install those first. Personally, I prefer to keep projects like this one out of my home directory, and /opt seems to be the best place to put it according to my research. This does mean we'll need to clone with sudo and change the permissions to make sure we have access. Finally, we'll use makepkg to install any missing prerequisites and build the yay package.
sudo pacman -S --needed git base-devel
cd /opt
sudo git clone https://aur.archlinux.org/yay.git
sudo chown -R james:james yay
cd yay
makepkg -si
With yay installed, we can run yay -Y --gendb to initialize the package database. From there we can run yay -Syu <package name> to install whatever AUR packages you want. Note that you do not want to run yay as root. This is because makepkg itself refuses to run as root for security and stability reasons. Doing things this way allows the damage from malicious packages to be somewhat contained and can help protect your system from misconfigured packages.
Taking Shortcuts
Remember when I said that using Arch meant we would have to configure a lot of things on our own? That includes the shortcut keys on our keyboard. If we want basic things like backlight adjustments and volume control, we'll have to set those up ourselves.
We'll use acpid, which catches and handles various hardware events, including the function keys that you might have on your keyboard. Because we're using Arch, there are no pre-created events, so we'll need to manually create configurations to handle any hardware events we want. For now, we'll start with just a couple of function keys.
First is volume control, which is pretty easy. The amixer command is included with alsa-utils, so we'll use that to perform the actual volume control. We'll create three event handlers in /etc/acpi/events to handle volume up, volume down, and mute.
event=button/volumeup
action=amixer set Master 5+
event=button/volumedown
action=amixer set Master 5-
event=button/volumeup
action=amixer set Master 5+
All the Dell laptops I've ever experimented with use the events defined above, but if you're having issues, you can test by running acpi_listen and pressing the key you want to use to see what it reports to the OS.
Backlight control is a bit more difficult. Adjusting the backlight itself is the easy part. Remember the Linux philosophy of "everything is a file". If you're using a laptop, your LCD's backlight is probably exposed to the OS as a file that you can read and edit. Check the /sys/class/backlight directory for any subfolders that could correspond to your backlight. In my case, it's intel_backlight, but your mileage can (and will) vary.
The main file you'll be looking for is the brightness that should hold your system's current brightness level. You'll also want to check max_brightness, because that will help you determine how much you'll need to increase or decrease the brightness to have any kind of effect. In my case, the max_brightness is a whopping 120,000, so I'll need to make pretty major swings to get the brightness to actually adjust. Your value should hopefully be more reasonable.
Regardless, the Arch wiki page for acpid has a handy script to handle the brightness control. It takes the current value from the brightness file, increments it by a customizable value, then writes that new value back to the file. All you have to do is fill out the variables for the backlight device path and the value you want to increment or decrement by. For example, my modified version of that script looks like this:
#!/bin/sh
bl_dev=/sys/class/backlight/intel_backlight
step=10000

case $1 in
  -) echo $(($(< $bl_dev/brightness) - $step)) >$bl_dev/brightness;;
  +) echo $(($(< $bl_dev/brightness) + $step)) >$bl_dev/brightness;;
esac
Once again, your step will hopefully be a much more reasonable value. You'll need to create a handlers directory in /etc/acpi to save the script in. Make sure you set it to be executable using chmod +x.
Now, you can create your events in /etc/acpi/events for the brightness up and down. Once again, double-check what events your function keys emit if you have issues making them work.
event=video/brightnessup.*
action=/etc/acpi/handlers/bl +
event=video/brightnessdown.*
action=/etc/acpi/handlers/bl -
Surfing The Web
Being able to browse the web from the same screen that we're working in would be great for productivity. There are plenty of command-line browsers, such as w3m and the many forks of links, but all of them are pretty primitive and struggle with the modern web. There's also browsh, which acts as a headless Firefox frontend, but navigating web pages without a mouse is a bit of a hassle on it. I also had hope for carbonyl, a Text User Interface (TUI) port of Chromium, but it appears to be pretty much abandoned.
The one remaining browser that seemed to fit my requirements was chawan. It has CSS, JavaScript, and HTML5 support, making it suitable for the modern web (although I, personally, preferred turning the CSS off). If you're not a fan of less, it can also be used as a pager. It's available to install from the AUR.
In addition to turning off CSS, I've been testing Brave Search as my search engine of choice and wanted to be able to invoke it from the chawan omnibar. The config file should be saved as ~/.config/chawan/config.toml. This is what mine looked like after my minor tweaks.
[buffer]
styling = false
cookie = 'save'

[omnirule.brave]
match = '^brave:'
substitute-url = '(x) => "https://search.brave.com/search?q=" + encodeURIComponent(x.split(":").slice(1).join(":"))'

[siteconf.brave]
host = 'brave\.search\.com'
scripting = true
Conclusion
These are what I would consider the basic essentials for this setup. There are still plenty of other solutions to various problems that you might encounter, but I think those are better saved for a part 2 of this series.
Setting up Arch from scratch and getting our environment tuned the way we want has been an interesting experiment, and I'm looking forward to continuing it to see just how far we can go.
